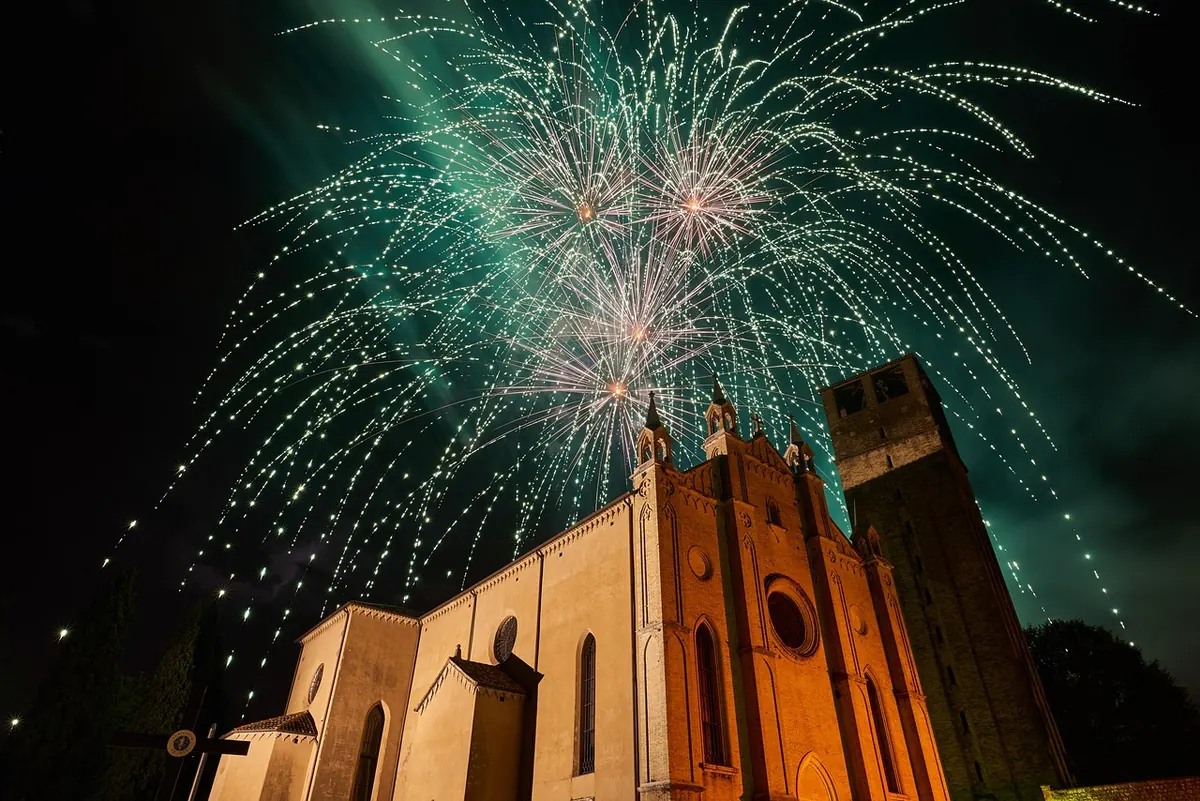
Bell Towers
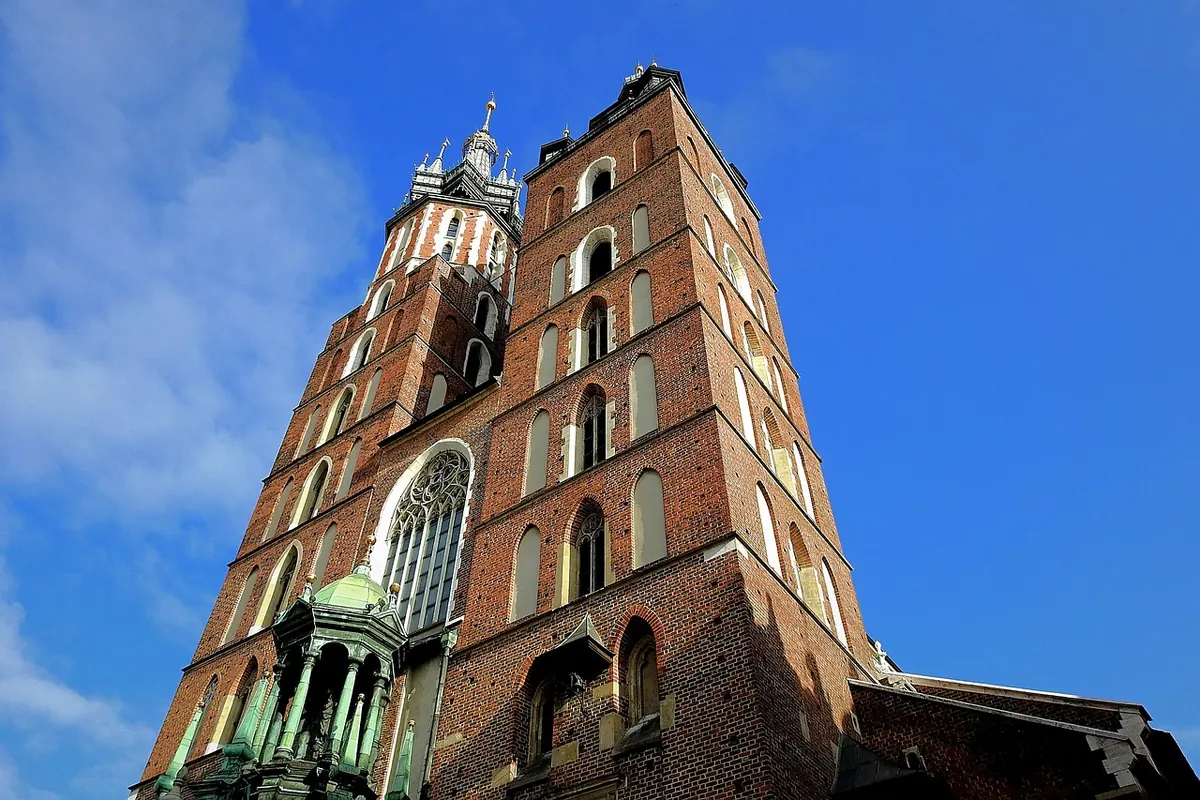
A Beginner’s Checklist for Visiting and Photographing Historic Bell Towers Responsibly
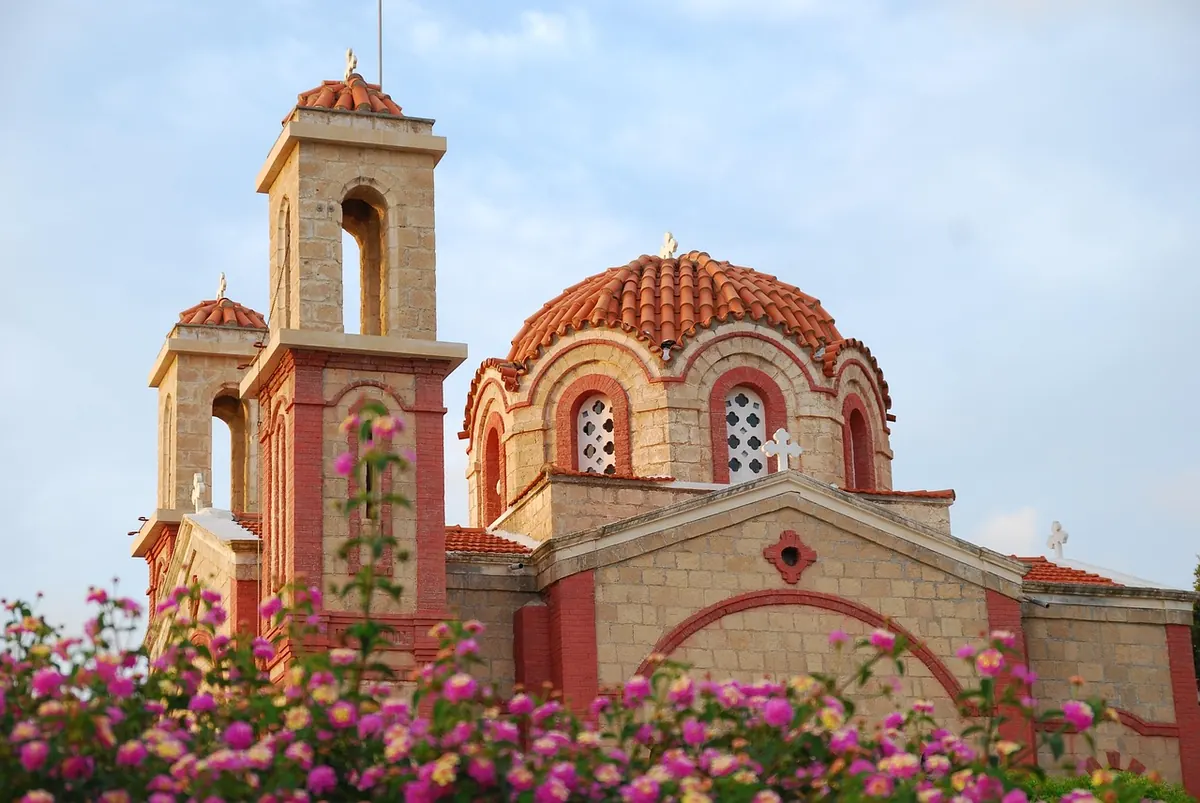
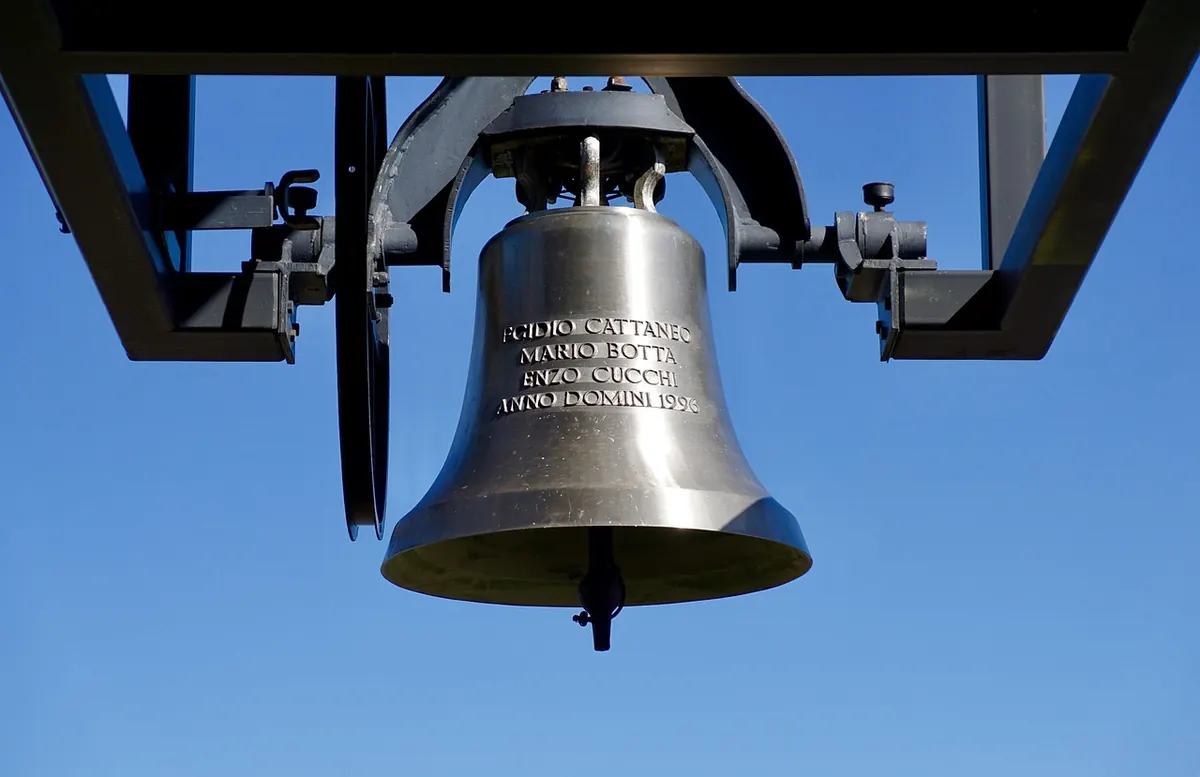
A bell tower looks simple from the square: a stone shaft, a few openings, a belfry, a spire. Then you climb it, and everything changes. The light swings from blinding to near-black in a single step. The staircase narrows to the width of your shoulders. Somewhere above you, a bell the size of a small car hangs from an oak beam that has been holding it for two centuries. The photographs people remember are usually made by visitors who understood the building before they raised a camera — who knew when the door opened, where the sun would be, and which floorboards were never meant to be walked on.
Start With Access, Not With Your Camera
Most bell towers are not run like museums. They belong to a parish, a municipality, a confraternity or a small volunteer group, and access is arranged around whatever else the building is doing. Find out who holds the key before you plan anything else. A phone call to the parish office will often tell you more than a website that has not been updated since 2019.
Opening hours tend to be short and seasonal: a few hours on weekend afternoons in summer, nothing in January, occasionally just the evening of ringing practice. Guided tours may be the only route upstairs, and last entry usually comes well before closing time, because whoever accompanies you has to come back down as well. Heritage open days are worth watching for — many towers unlock their doors for one weekend a year and nothing more.
Ask about photography at the same moment you ask about visiting. Some places are relaxed about cameras but draw the line at tripods in a narrow stairwell, or ask that images not be sold without permission. It costs nothing to ask, and it saves an awkward conversation at the top of a ladder.
Check the service schedule too. Arriving in the middle of a Mass, a wedding or a funeral because you misread the notice on the door is the most common way to be remembered unkindly.
The Stairs Are the Real Test
Old towers are climbed, not toured. Treads are hollowed in the middle by centuries of feet, so the front edge of a step may be an inch or two higher than it looks. Lintels are low. Handrails exist on one side only, sometimes as a rope, sometimes not at all. Treat the whole ascent as a single-file operation: if someone is coming down, stop on a landing and let them pass rather than squeezing past on a spiral where neither of you can see your feet.
Keep both hands free. A camera swinging on a neck strap at chest height is a liability on a corkscrew stair; put it in a bag until you reach a floor. A small torch helps in the unlit stretches, and gloves are useful on cold iron handrails. Descending causes more falls than climbing, so take it slowly and keep your weight over the inner edge of the tread.
If you suffer from vertigo, or from heart, breathing or balance conditions, think carefully before committing to three hundred steps and an open gallery. There is no shame in stopping at the ringing chamber. Where health is a concern, ask a doctor rather than a guidebook. Weather matters as well: wet stone on an external gallery, sudden gusts at an open arch, or a summer storm overhead are all good reasons to postpone.
Understand the Light Before You Shoot
Exterior light is largely a matter of direction. A tower whose principal facade faces east is best photographed in the morning; one facing west rewards the evening. Check the orientation on a map before you travel, then plan your visit around it. Midday sun flattens carving and turns tracery into a dark silhouette; low sun rakes across the stone and shows you every tool mark. Flat overcast light, unfashionable as it is, is often the kindest for detail.
Inside the belfry, contrast becomes extreme. Bright louvres and a dark chamber cannot both be recorded in one exposure. Expose for the openings and let the interior fall into shadow, or bracket manually — three to five frames a stop apart — and combine them later. Trust the histogram rather than the screen, and use spot metering on the brightest window. A cloth or a raised hand to shade the lens will deal with flare that no lens hood catches.
Leave the flash off near wall paintings, frescoes, gilded wood, textiles and anything under glass. Repeated light exposure damages pigments, and many sites restrict it for that reason. When in doubt, ask; the answer is a useful piece of information either way.
Compose Without Trespassing
Wide lenses suit bell chambers, but keep the camera level so vertical lines stay vertical, and correct perspective later with restraint. Doorways, arched openings and the gaps between louvres make natural frames. Look for the leading lines already in the building — ladder rails, beams, bell ropes, the curve of the stair. Include something for scale: a hand on a rope, a figure at the far end of the chamber.
Never lean out of an opening for a better view, and never climb onto a ledge, a beam or the bell frame. Barriers and low walls are there because the drop is real. If the only way to get the shot involves crossing a rope or stepping past a sign, the shot is not worth it.
Gear That Earns Its Place
Climbing light is a pleasure; climbing heavy is not. A modest kit will cover almost everything a tower can offer:
- One body and a standard zoom, plus a fast prime for the dark interior.
- A wide lens for chambers and stairwells, used level.
- Spare batteries kept in an inside pocket, since cold stone drains them.
- A small torch, ideally with a red or dim setting.
- A microfibre cloth for dust, condensation and lens flare.
- A tripod only if you have confirmed it is allowed, and a compact one at that.
- Nothing that needs two hands while you are on a staircase.
Etiquette in a Working Church
A tower is usually the upper floor of a building that is still in use. Dress as you would for the church below, keep your voice down, and remember that sound carries strangely up a stair shaft — a conversation at the bottom is perfectly audible at the top. Do not touch bells, wheels, ropes, weights or the clock mechanism, even to steady yourself; grease and metal fatigue do not forgive. Stay out of cordoned areas, do not move furniture or kneelers, and do not sit on the bell frame to rest.
Ask before photographing people, especially worshippers and clergy. If a service begins while you are up there, stop shooting and wait quietly, or come down. Leave a donation if there is a box, sign the visitor book, and close doors gently behind you — a slammed door in a tower rings every bell in the frame.
A Short Pre-Departure Check
- Confirm opening hours, last entry and whether a guide is required.
- Ask about photography, tripods and publication in the same message.
- Check the service schedule and any feast day closures.
- Look up the tower's compass orientation and the sunset time.
- Pack light: one camera, one spare battery, a cloth, a torch.
- Wear shoes with grip and clothes you can move in.
- Decide in advance how high you are willing to go.
- Carry a contact number for the site in case your plans change.
Do those eight things and the climb becomes simple: you arrive at the right hour, you know where the light will fall, and you have nothing in your hands but the camera. The rest is patience — waiting for a bell to swing, a cloud to move, or the last visitor to leave the gallery so the chamber is finally still.
Photo: 5892437 / Pixabay
Related Articles